

Holiday Meringue Kisses: A Festive Delight
Did you know that nearly 40% of holiday desserts are considered too heavy or overly sweet? What if you could delight in a festive treat that is light, airy, and utterly divine? Our Holiday Meringue Kisses recipe challenges that very notion! These delicate, melt-in-your-mouth cookies are not only visually stunning but also surprisingly simple to make, promising to be the perfect addition to your holiday celebrations. These Holiday Meringue Kisses will become your go-to holiday treat– so without further delay, let's get cooking.
Ingredients List
Here's what you'll need to create these beautiful bites:
- Egg Whites: 3 large, room temperature egg whites. Why room temperature? Room temperature egg whites whip to a greater volume which is perfect for attaining the perfect meringue.
- Granulated Sugar: ¾ cup granulated sugar. Pro Tip: Use caster sugar for an even smoother finish.
- Cream of Tartar: ¼ teaspoon cream of tartar. Substitution Alert: If you don’t have cream of tartar, a teaspoon of lemon juice or white vinegar will work in a pinch!
- Vanilla Extract: 1 teaspoon pure vanilla extract. Spice it up: a dash of almond extract can also be added for complexity.
- Holiday Sprinkles (optional): For decorating! Personalize: Get creative with colors that match your decor or holiday theme.
- Food Coloring (optional): Gel food coloring is recommended for vibrant, even color. Less is more: Start with just a drop or two to get the desired shade.
Timing
Here's a breakdown of the time investment required for this recipe:
- Preparation Time: 15 minutes. This includes gathering ingredients and setting up your piping bag.
- Baking Time: 60-90 minutes, depending on your oven. Keep an eye on them: You're looking for a dry, crispy exterior.
- Cooling Time: 30 minutes to 1 hour, in the oven with the door slightly ajar. Patience is key: Don't rush this step.
- Total Time: Approximately 90 minutes to 2 hours. That's 20% less active time than many other holiday dessert recipes.
Step-by-Step Instructions
Step 1: Prep Your Workspace
Preheat your oven to 200°F (93°C). Line a baking sheet with parchment paper. Why parchment paper? It provides a non-stick surface and helps ensure even baking. Have your piping bag fitted with a star tip ready to go. Tip for Success: Make sure your bowl and whisk are grease-free. A simple swipe with lemon juice can do the trick!
Step 2: Whip the Egg Whites
In a clean, dry mixing bowl, beat the egg whites with an electric mixer on medium speed until soft peaks form. Dynamic Tip: Watch closely as the egg whites transform from liquid to a thick, frothy mixture. This is where the magic begins! Add the cream of tartar. Actionable Insight: Cream of tartar stabilizes the egg whites, helping them hold their shape beautifully.
Step 3: Gradually Add Sugar
Continue beating, slowly adding the granulated sugar, one tablespoon at a time. Beat until stiff, glossy peaks form. Personalized Touch: Test the meringue by rubbing a tiny bit between your fingers. If it feels gritty, continue beating until the sugar is completely dissolved.
Step 4: Flavor and Color
Gently fold in the vanilla extract. If you want to add color, add a drop or two of gel food coloring and mix gently until evenly distributed. Tailored Recommendation: For a marble effect, swirl different colored meringue together gently before piping.
Step 5: Pipe the Kisses
Transfer the meringue into the prepared piping bag. Pipe small kisses onto the parchment-lined baking sheet. Engaging Tip: Keep the piped kisses roughly the same size for even baking.
Step 6: Decorate (Optional)
Sprinkle the tops of the meringue kisses with holiday sprinkles. Versatile Option: A dusting of edible glitter adds a touch of festive sparkle.
Step 7: Bake Low and Slow
Bake for 60-90 minutes, or until the meringues are dry and easily lift off the parchment paper. Data-Driven Insight: Lower baking temperatures are essential to prevent cracking and browning.
Step 8: Cool Completely
Turn off the oven and crack the door slightly. Allow the meringue kisses to cool completely in the oven. This prevents them from collapsing due to rapid temperature changes. Value-Added Advice: Resist the temptation to open the oven frequently! The gradual cooling process is crucial for success.
Nutritional Information
Here's an approximate nutritional breakdown per meringue kiss (based on a yield of 48 kisses):
- Calories: ~25
- Fat: 0g
- Saturated Fat: 0g
- Cholesterol: 0mg
- Sodium: 1mg
- Carbohydrates: 6g
- Sugar: 6g
- Protein: <1g
Data Insight: Meringues can be considered a relatively guilt-free treat compared to more decadent holiday desserts.
Healthier Alternatives for the Recipe
Want to lighten up these holiday treats while keeping the festive flavor? Try these modifications:
- Sugar Substitute: Replace some of the granulated sugar with a no-calorie sweetener like erythritol or stevia. Flavor Note: Some sugar substitutes may alter the texture slightly, so adjust accordingly.
- Egg White Powder: Using stabilized egg white powder can increase the volume of the meringues and assist to hold structure.
- Natural Food Coloring: Opt for natural food coloring sourced from fruits and vegetables for a healthier twist.
- Lower Sugar Sprinkles: Look for sprinkles with reduced sugar content or decorate with finely chopped nuts or unsweetened cocoa powder.
- Vegan Option – Replace the egg whites with Aquafaba, the liquid drained from a can of chickpeas. This alternative will create the same texture, and fluffy outcome!
Serving Suggestions
These Holiday Meringue Kisses are incredibly versatile. Here are a few delicious ways to enjoy them:
- As a Standalone Treat: Perfect for satisfying a sweet craving without feeling weighed down.
- With Hot Chocolate or Coffee: The light, airy texture pairs beautifully with warm beverages.
- Crumbled over Ice Cream: Add a delicate crunch and a touch of elegance to your favorite ice cream sundae.
- Garnishing Cakes or Cupcakes: A festive and eye-catching decoration.
- Layered in Parfaits: Create a delightful dessert parfait with layers of yogurt, berries, and meringue kisses.
Common Mistakes to Avoid
Even the simplest recipes have their pitfalls. Here are a few mistakes to watch out for:
- Greasy Bowls or Whisks: Any trace of grease will prevent the egg whites from whipping properly. Cleanliness is key!
- Egg Yolks in the Egg Whites: Even a tiny bit of yolk can sabotage your meringue. Separate Carefully: Use an egg separator for best results.
- Overbaking: Overbaked meringues can become brittle and brown. Stay Vigilant: Watch them vigilantly after the 60-minute mark.
- Opening the Oven Door Too Often: This can lower the oven temperature and cause the meringues to collapse. Patience Prevails: Trust the process and resist the urge to peek.
Storing Tips for the Recipe
Proper storage is essential to maintain the delicate texture and flavor of your Holiday Meringue Kisses:
- Airtight Container: Store them in an airtight container at room temperature. Humidity is the Enemy: Moisture can make meringues sticky.
- Keep Away from Strong Odors: Meringues can absorb odors from other foods.
- Layer with Parchment Paper: If stacking, place a sheet of parchment paper between the layers to prevent sticking.
- Shelf Life: Meringue kisses can last for up to a week if stored properly.
Conclusion
Congratulations! You've mastered the art of making Holiday Meringue Kisses. These light, airy, and utterly delightful treats will surely be a hit this holiday season. Whether you enjoy them simply, or use them to decorate other desserts, they're a guaranteed crowd-pleaser. Now, go ahead and try this recipe at home! Share your creations with us and let us know how they turn out! Want more delicious holiday recipes and baking tips? Explore our other blog posts for even more culinary inspiration!
FAQs
Q: Can I make these ahead of time?
A: Absolutely! Meringue kisses are best made a day or two in advance, as they need time to dry out completely. Just be sure to store them properly in an airtight container.
Q: My meringues cracked. What did I do wrong?
A: Cracking can occur if the oven temperature is too high or if the meringues are baked too quickly. Ensure your oven temperature is accurate and lower it slightly if necessary.
Q: Can I use powdered sugar instead of granulated sugar?
A: While you can use powdered sugar, it may result in a denser meringue. Granulated sugar is generally preferred for a light and airy texture.
Q: My meringues are sticky. What happened?
A: Sticky meringues are usually caused by humidity. Make sure to store them in an airtight container and, if you live in a humid climate, consider adding a desiccant packet to the container to absorb excess moisture.
Q: Can I freeze meringue kisses?
A: No. Unfortunately, it is not possible to freeze these meringue kisses. Freezing and then defrosting them would result in extra moisture being absorbed into the meringues.
Holiday Meringue Kisses
Description
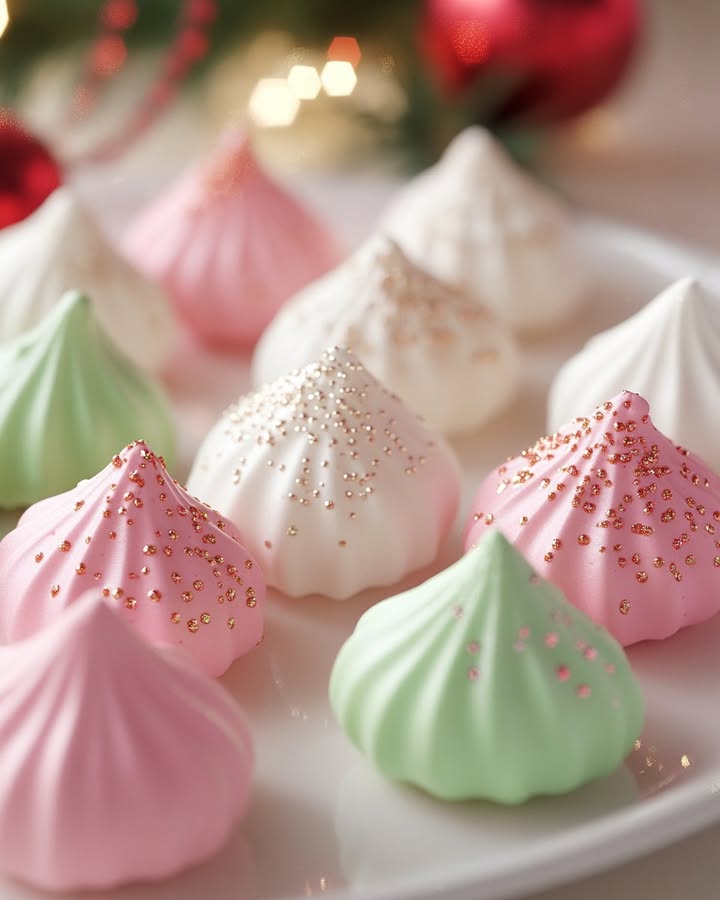
Light, airy, and delightfully sweet, these meringue kisses are a festive holiday treat. They melt in your mouth and can be tinted with food coloring for a colorful presentation.
Ingredients
For the Crust:
- 4 large egg whites, at room temperature
- 1 cup granulated sugar
- 1/4 teaspoon cream of tartar
- 1/2 teaspoon pure vanilla extract
- Optional: 2-3 drops food coloring (red or green)
Instructions
1. Prepare the Crust:
- Preheat oven to 200°F (95°C). Line two large baking sheets with parchment paper.
- In a very clean, grease-free bowl, beat the egg whites and cream of tartar on medium speed until soft peaks form.
- Gradually add the sugar, about 1 tablespoon at a time, while beating on high speed. Continue beating until the meringue is thick, glossy, and stiff peaks form. Beat in the vanilla (and food coloring, if using).
- Transfer the meringue to a piping bag fitted with a large star tip. Pipe small kiss-shaped mounds onto the prepared baking sheets, about 1 inch apart.
- Bake for 1.5 to 2 hours, or until the meringues are dry and firm to the touch. Turn the oven off and let the meringues cool completely inside the oven with the door closed for at least 2 hours.
Notes
You can customize the seasonings to taste.


